In the world of gardeners, horticulturists, and plant enthusiasts, nurturing plants from seed to maturity is a true art form. An indispensable tool for this process is Sneeboer’s handcrafted stainless steel (RVS) transplant spoon. This small yet powerful instrument allows you to transplant young seedlings safely and efficiently, minimising root damage while maintaining maximum control. In this comprehensive blog post, discover everything about the history, craftsmanship, and practical application of the transplant spoon. Learn why this tool is the ultimate must-have for every passionate gardener, from the hobbyist to the professional grower.
History and Origins of the Transplant Spoon
The origin of the Sneeboer transplant spoon can be traced back to the private workshop of Mr Waasdorp, a lawyer with a deep passion for gardening. Frustrated by the limited precision of conventional gardening tools, he forged the first prototype from mild steel in his spare time. After experiments with red copper and brass, he perfected his design in high-quality stainless steel. This initial model entered Sneeboer’s collection, where master smiths refined it into the elegant RVS version we know today.


In March 2025, the official launch took place at the Spring Market in the Utrecht Botanic Gardens. There, Mr Waasdorp and his wife shared anecdotes about the evolution of the design: from rough mild steel to the elegant and durable RVS transplant spoon. Since then, this tool has become a favourite among professional growers and enthusiastic hobby gardeners both locally and abroad.
Artisanal Craftsmanship in Stainless Steel
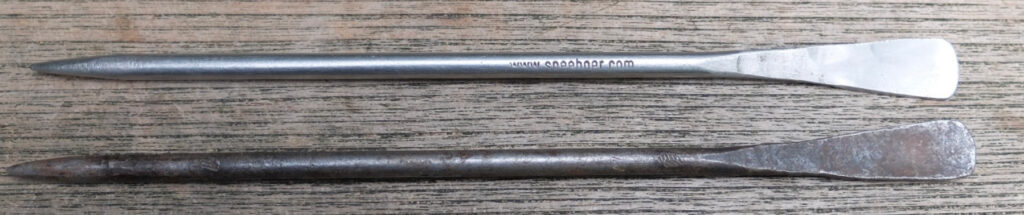
Each Sneeboer stainless steel transplant spoon is hand-forged from a single piece of RVS. The production process is as follows:
- A round 8 mm RVS rod is heated in the forge until optimally malleable.
- With precise hammer strikes, the smith forms the spoon bowl and creates a sharp, pointed tip for piercing and loosening soil.
- The handle is ground and polished smooth, with no welds to prevent weak points.
- After cooling, the surface is finished with fine steel wool for a smooth, hygienic surface.
This traditional method ensures maximum strength and durability. The single-piece design prevents corrosion at joints and guarantees a long lifespan, even under intensive professional use.
Why the Transplant Spoon Is Indispensable
The transplant spoon offers unbeatable benefits when moving seedlings:
- Precision: The spoon-shaped tip gently lifts the root ball without damaging delicate roots.
- Reduced stress: The sharp edge quickly pierces new soil, preserving fine roots and minimising plant shock.
- Ergonomic design: The slim, curved handle reduces hand fatigue during prolonged use.
- Durability: Stainless steel resists corrosion from moisture, soil, and organic fertilisers.
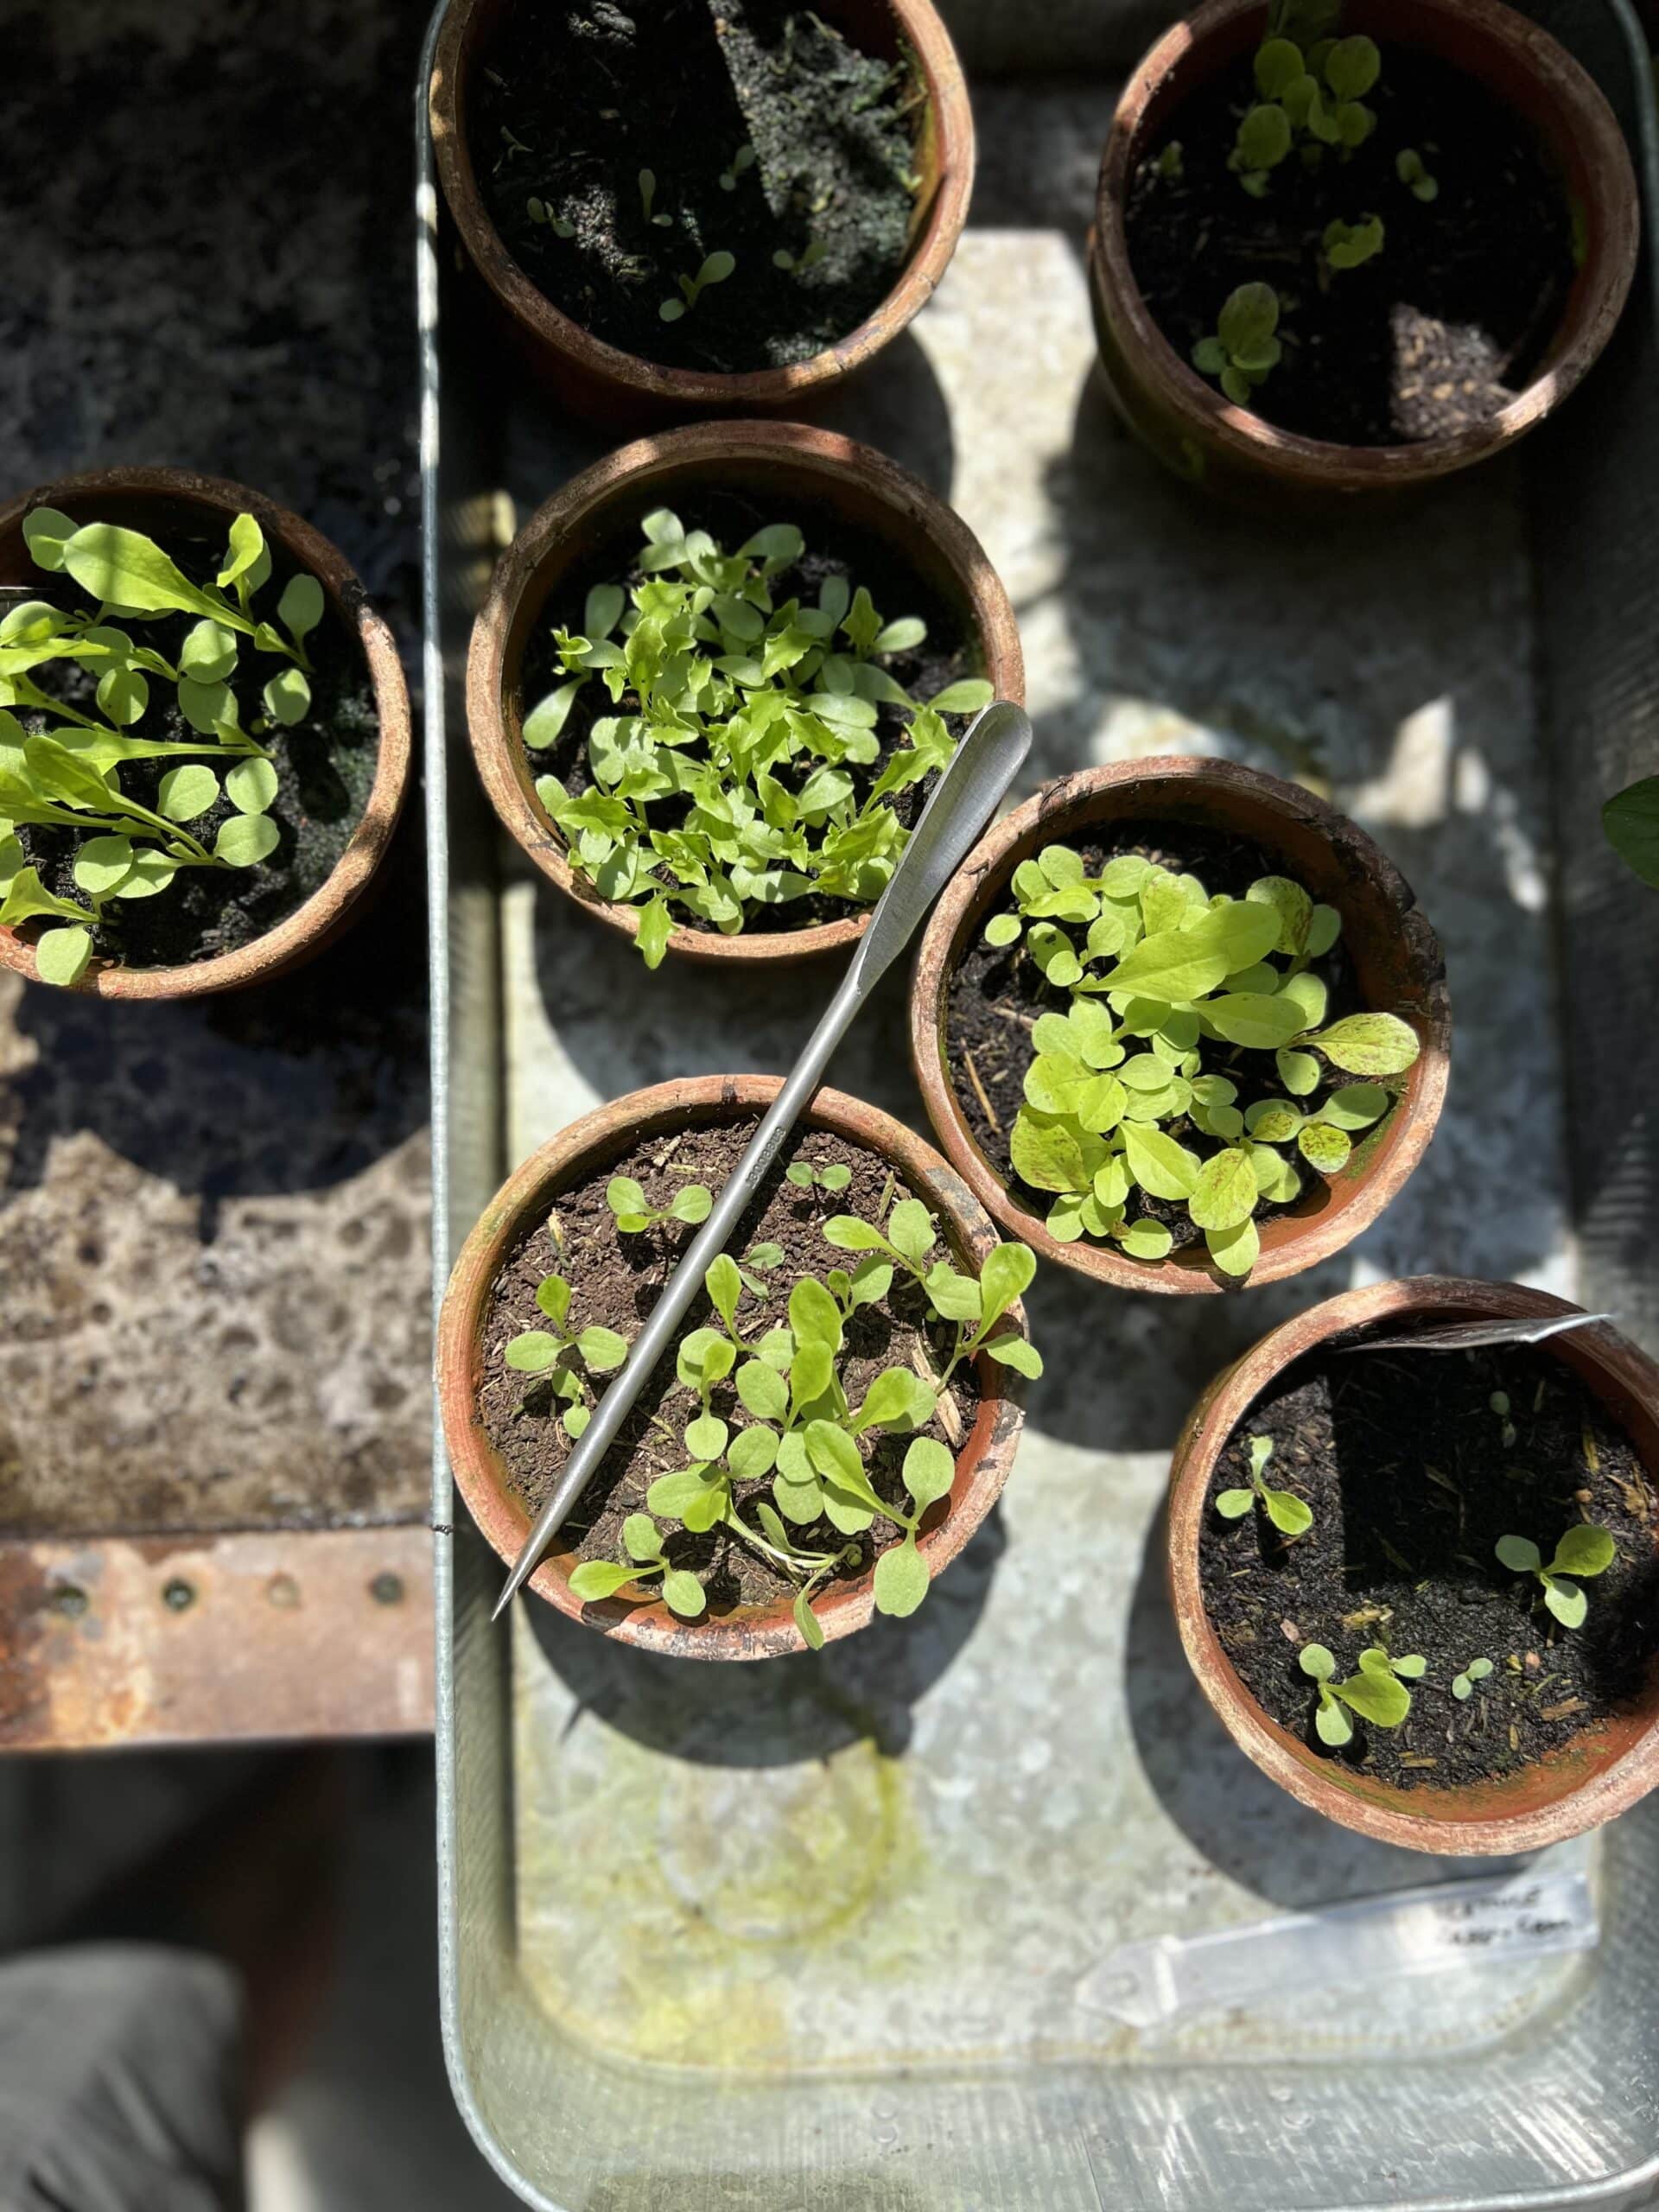
Step-by-Step: How to Use the Transplant Spoon
Follow these steps for optimal results:
- Preparation: Fill pots or seed trays with lightly moist compost.
- Loosen: Slide the spoon under the seedling, just beside the main root, and gently lift the root ball.
- Pierce: Use the tip to make a hole at the correct depth (equal to the original germination depth).
- Transplant: Place the seedling in the hole and gently firm the soil around it.
- Water: Give a light watering and position in shade or a cool greenhouse to avoid transplant shock.
Caring for Your Transplant Spoon
Proper care ensures long-term performance:
- Rinse after each use with lukewarm water and a soft brush.
- Dry thoroughly and store your spoon in a dry place.
- Occasionally polish with fine steel wool to remove residue.
- Check regularly for rough edges and file smooth if necessary.

Expert Tips for Successful Transplanting
Our gardening experts share their top tips for successful transplanting:
- Timing: Transplant in the early morning or late afternoon at temperatures between 15–18 °C.
- Humidity: Maintain around 60–70 % humidity to prevent root desiccation.
- Fertiliser: Add a light organic feed during potting for immediate root nourishment.
- Planning: Spread transplanting tasks over several days to avoid fatigue.